
To start with, I blocked out the scene by doing some quick models and using a few free models from the internet to save time. I also added some viewport lights and textures in Maya to get a quick idea of the lighting and just to make it look a little bit prettier I guess.
Here's what it looked like:

Next I did a quick sim to get an idea for how the character might grow, originally it was going to be heavily based on this wire sculpture from Richard Stainthorpe and the whole thing was going to an organic growth representation of this. It would combine muscle like structure with the structure shown below.
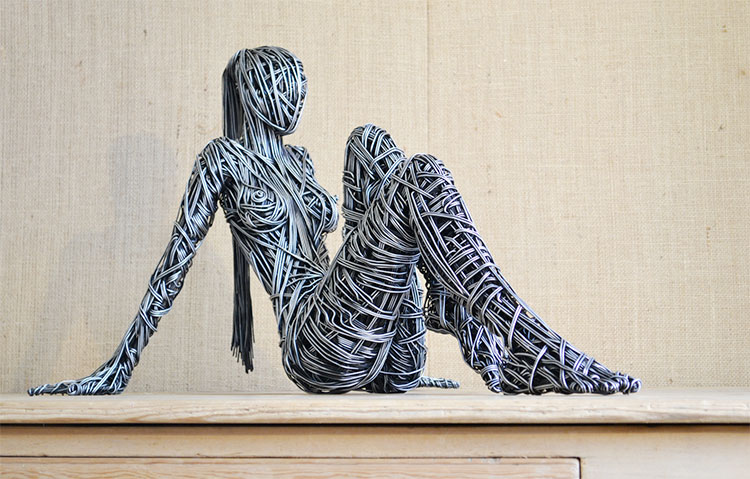


However, after creating this growth with the carve SOP and writing it out, it was too slow and too large in terms of file size to justify it for a pre-vis. As a quick space and speed saving cheat, I saved out the final form as static geometry, then used a moving sphere with a mountain SOP as a bounding object to delete primitives that aren't selected and make it look as if it's growing. Yes, this does look a bit tacky, but it's the pre-vis right?
Let's take a look at that, a simple sphere used as a bounding object to delete non-selected primitives:


The cinematography was heavily based on Wes Anderson's work and his obsession with symmetry, as I feel lots of symmetry will fit really well with the surreal, minimal vibe of this apartment scene. I also took a lot of inspiration from David Fincher's films, like The Social Network and Gone Girl, the whole cinematic style they use just works so well.
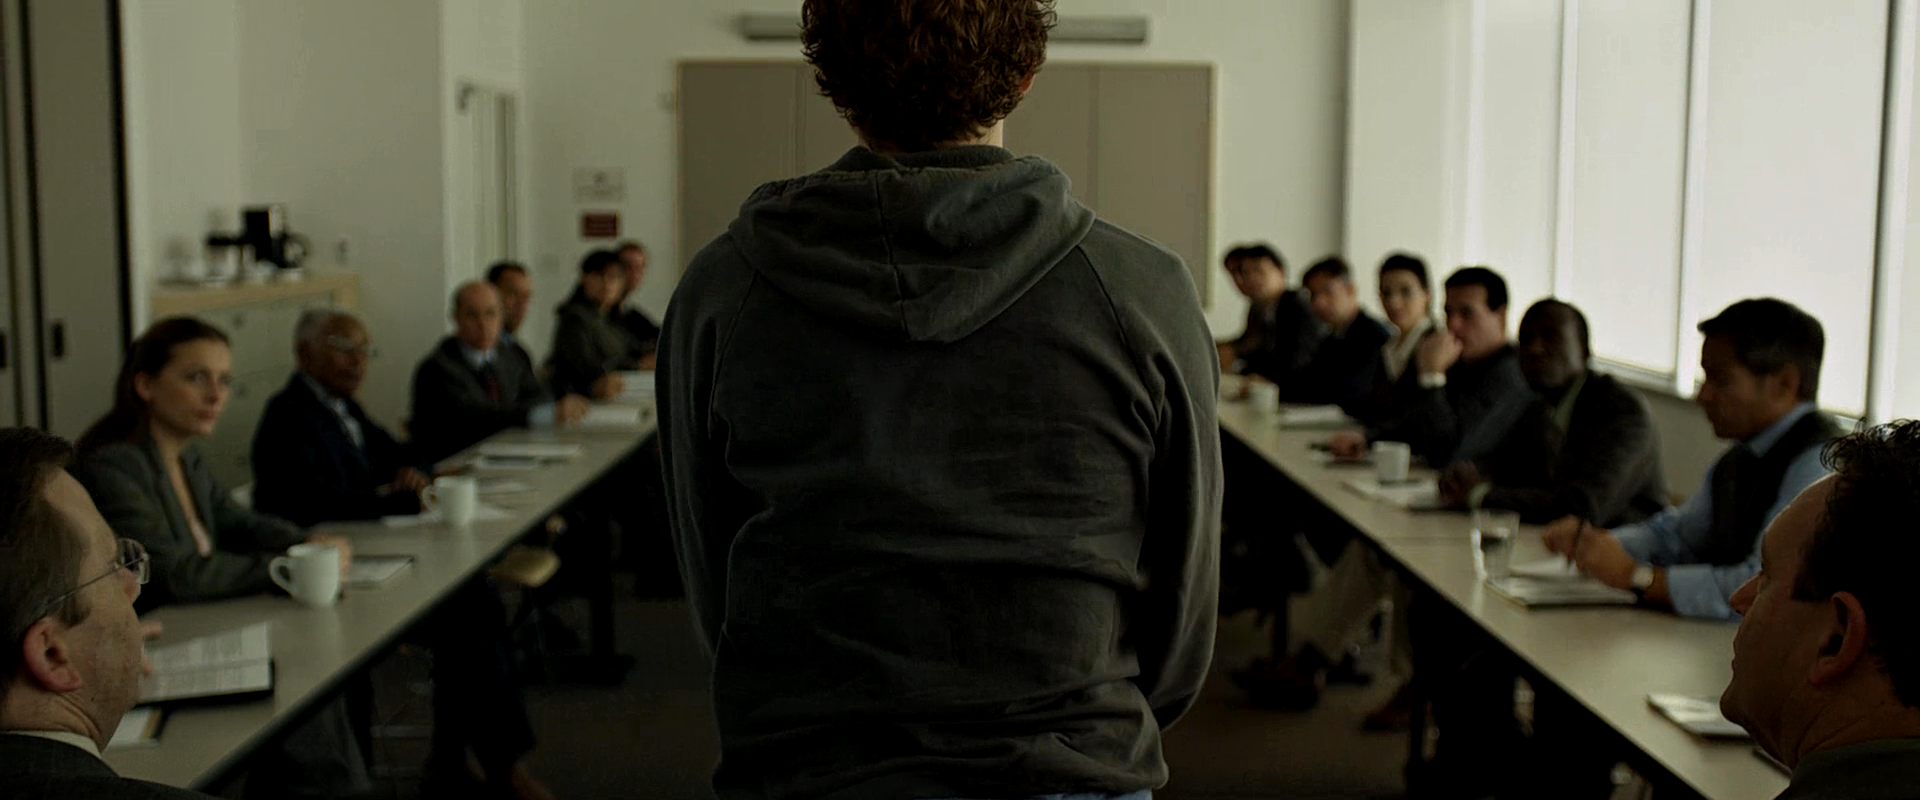
Overall I want the cameras to be simple, slow moving and really show of the growth of the character. I'll be using the old 2:35 aspect ratio to add a cinematic vibe to the whole sequence, luckily for me that saves on render time too.
This pre-vis isn't 100% concrete, and the cameras will need a lot of work after final layout and assembly. I'd love to have the cameras completely finished at the start, but the nature of a procedurally grown character means I can't really finalize the cameras until I have the final growth solver built. I want to get some nice close up shots of the growth but can't do that until it's complete really, guess I'd better get on with it...
So here's the final pre-vis if you want to have a look, the advert approach at the end is just an idea and may not make the final cut. I'll think about that later...
Cheers, see you next time.
No comments:
Post a Comment